macOS
This manual describes the access procedure to the Citrix EQP environment via Citrix Workspace App from macOS systems.
The access is set up in four steps:
Table of contents
1. Download and install the root certificate
Description
The Citrix Workspace App communicates encrypted with the Citrix EQP environment. To make this possible, the root certificate of our Windows environment must be present on the workstations.
Note:
- If you do not want to install the root certificate manually, you will find an installation file under Public Key Infrastructure that will take care of this process for you. Please note that you cannot fingerprint verify the certificate before installing it. If you are using this installation file, you can continue directly with 2. Download and install the Citrix Workspace App after installing it.
Instructions for downloading and installing the root certificate
The root certificate of our Windows environment can be downloaded under Public Key Infrastructure.
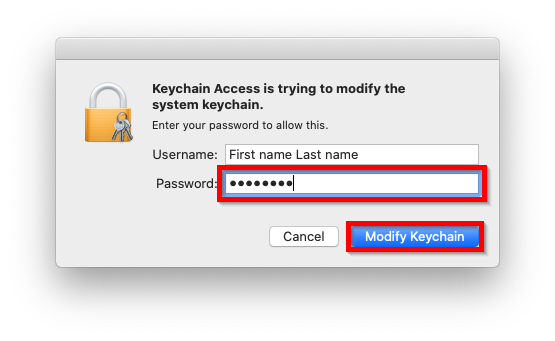
Double-click on the downloaded certificate, enter your password and click on Modify Keychain.
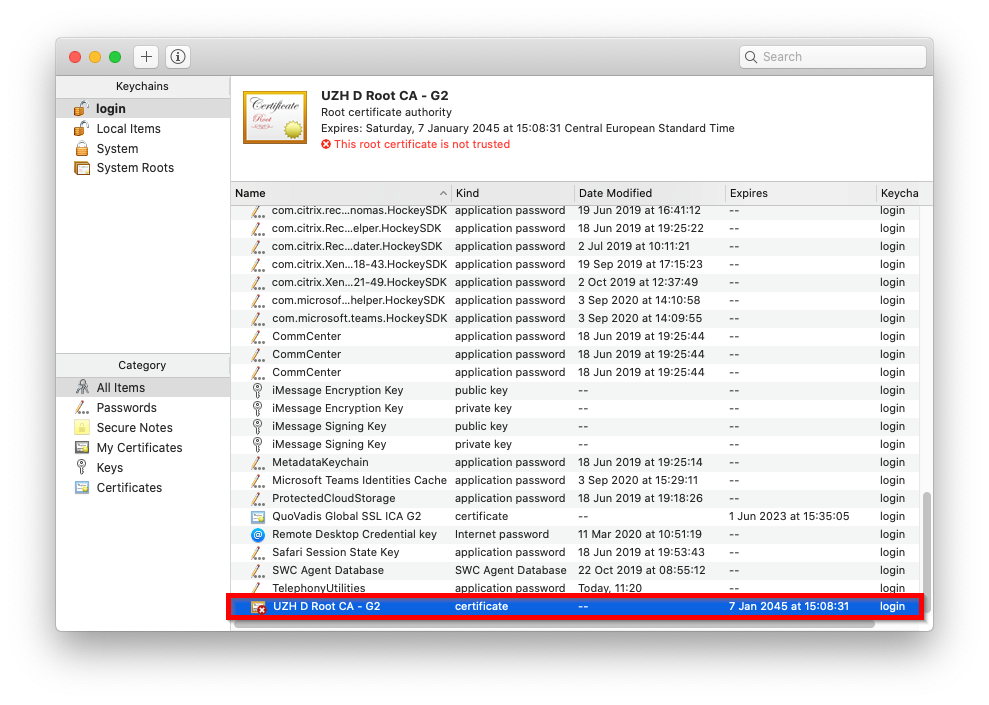
In the Keychain double-click on the just added certificate.
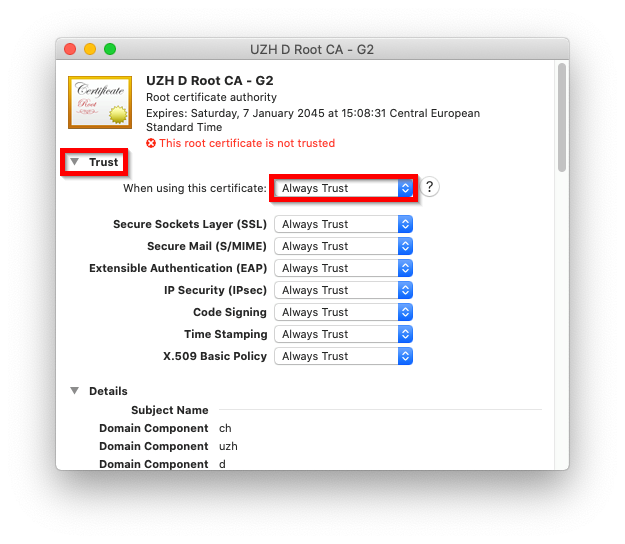
In the dialog that appears, click on the triangle to the left of Trust, select behind When using this certificate the option Always Trust and close the dialog.
Enter your password and click on Update Settings.

2. Download and install the Citrix Workspace App
Description
The software required to access the Citrix EQP environment is called Citrix Workspace App. It can be downloaded free of charge from the corresponding website.
Instructions for downloading and installing the Citrix Workspace App
Download the Citrix Workspace app that fits your system in your preferred browser from https://www.citrix.de/downloads/workspace-app/mac/workspace-app-for-mac-latest.html
Note: Please note the operating system compatibility and documentation listed on the download page.
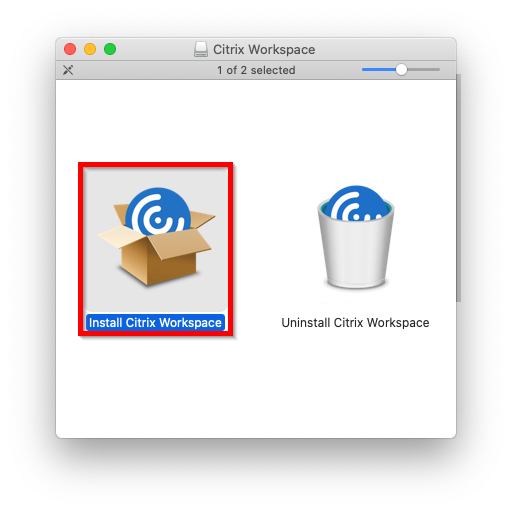
Double-click on the downloaded DMG file, to extract the file, and double-click in the window that appears on Install Citrix Workspace.
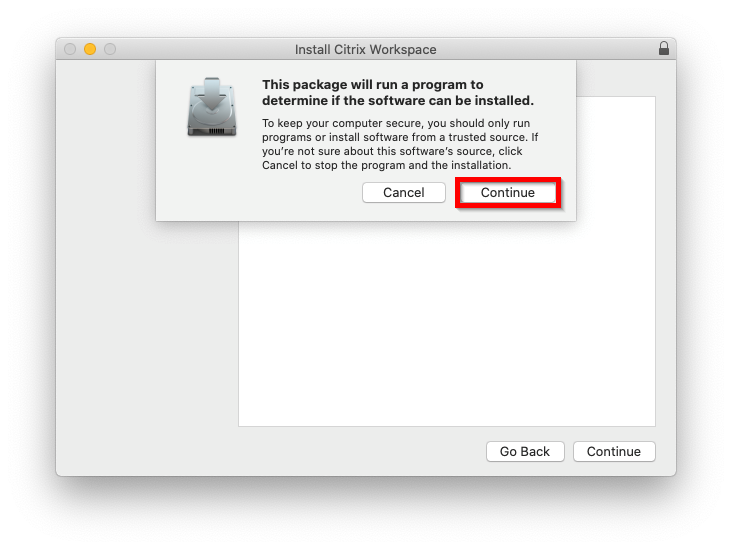
Click on Continue.
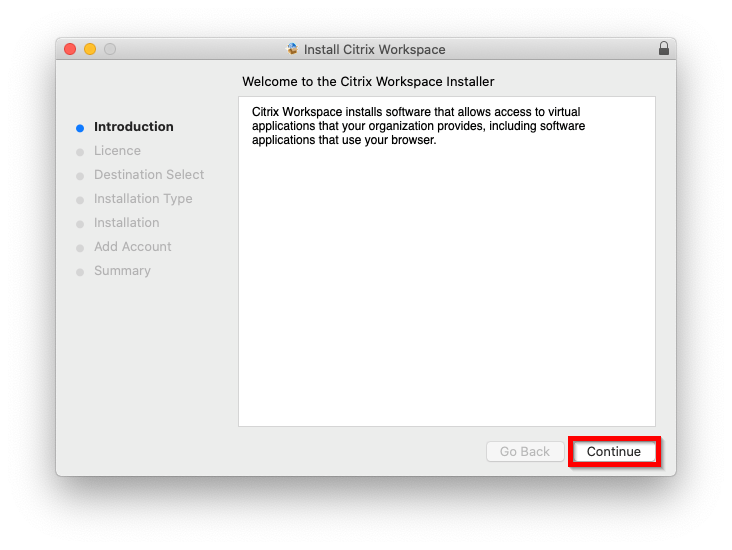
Click on Continue.
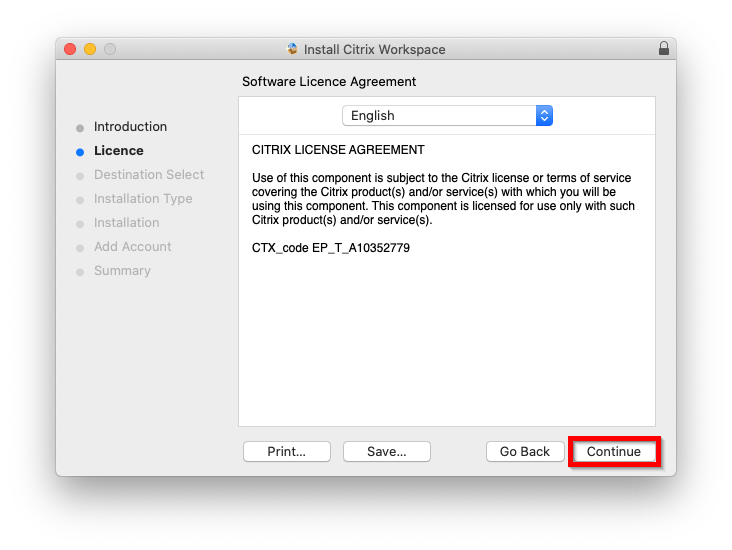
Click on Continue.
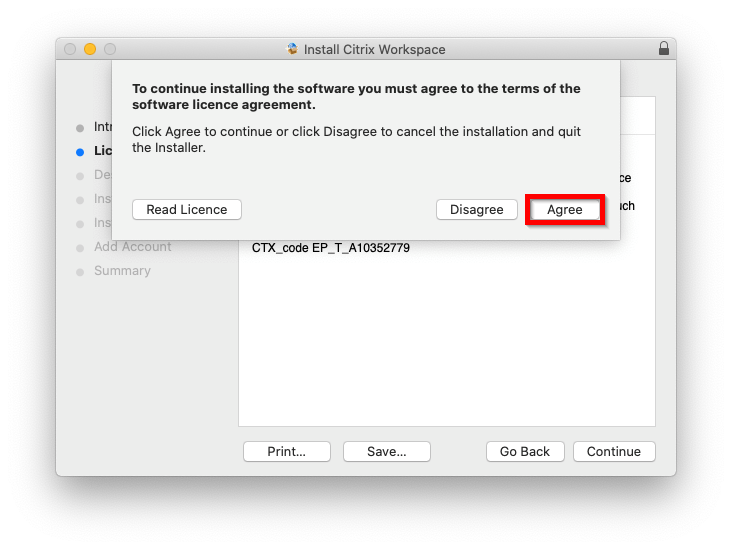
Click on Agree.
Click on Install.

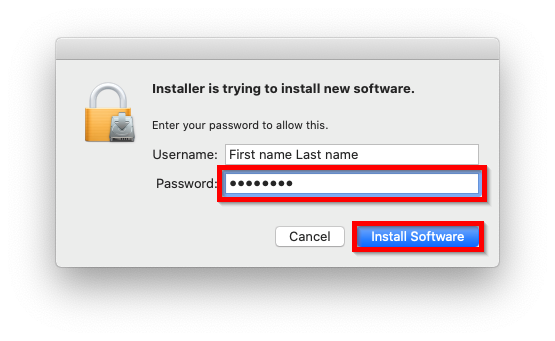
Enter your password and click on Install Software.
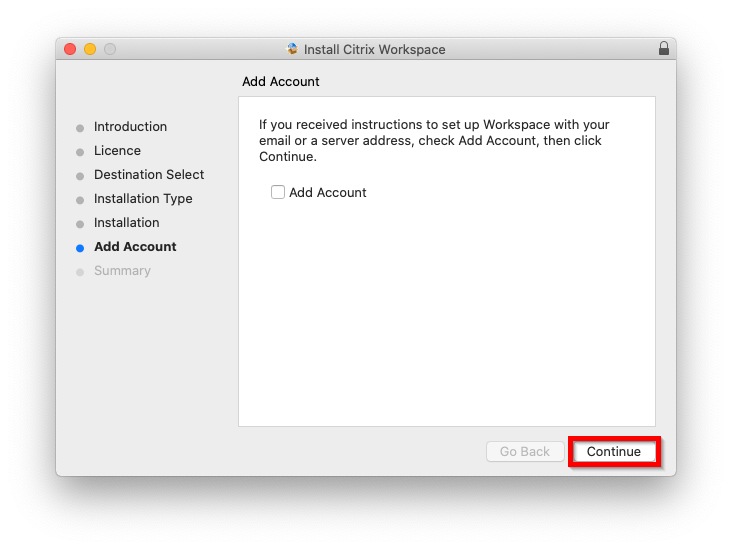
Click on Continue.
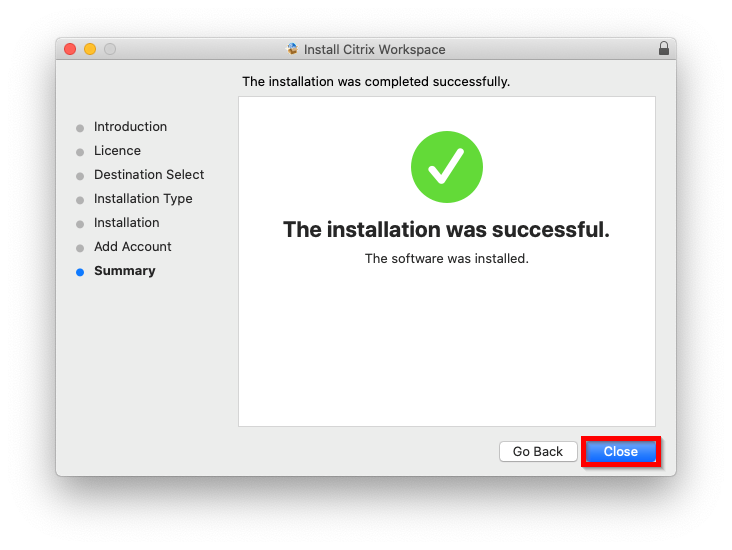
Click on Close.
3. Configuration of the access
Description
When using the Citrix Workspace app for the first time, it must be configured to access the Citrix EQP environment. The settings will be saved and are then valid for all further uses. Of course the saved settings can be adjusted at a later time.
Note: If you want to access the Citrix EQP environment from devices outside the UZH network, VPN must be used.
Instructions for configuring access
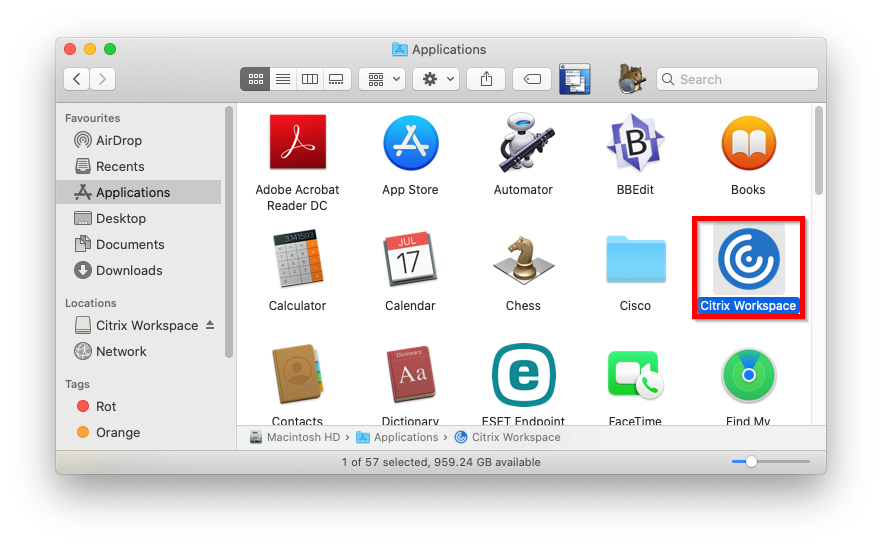
Start the installed Citrix Workspace App.
In the wizard that appears, enter the server address idcitrix.d.uzh.ch and click Add.
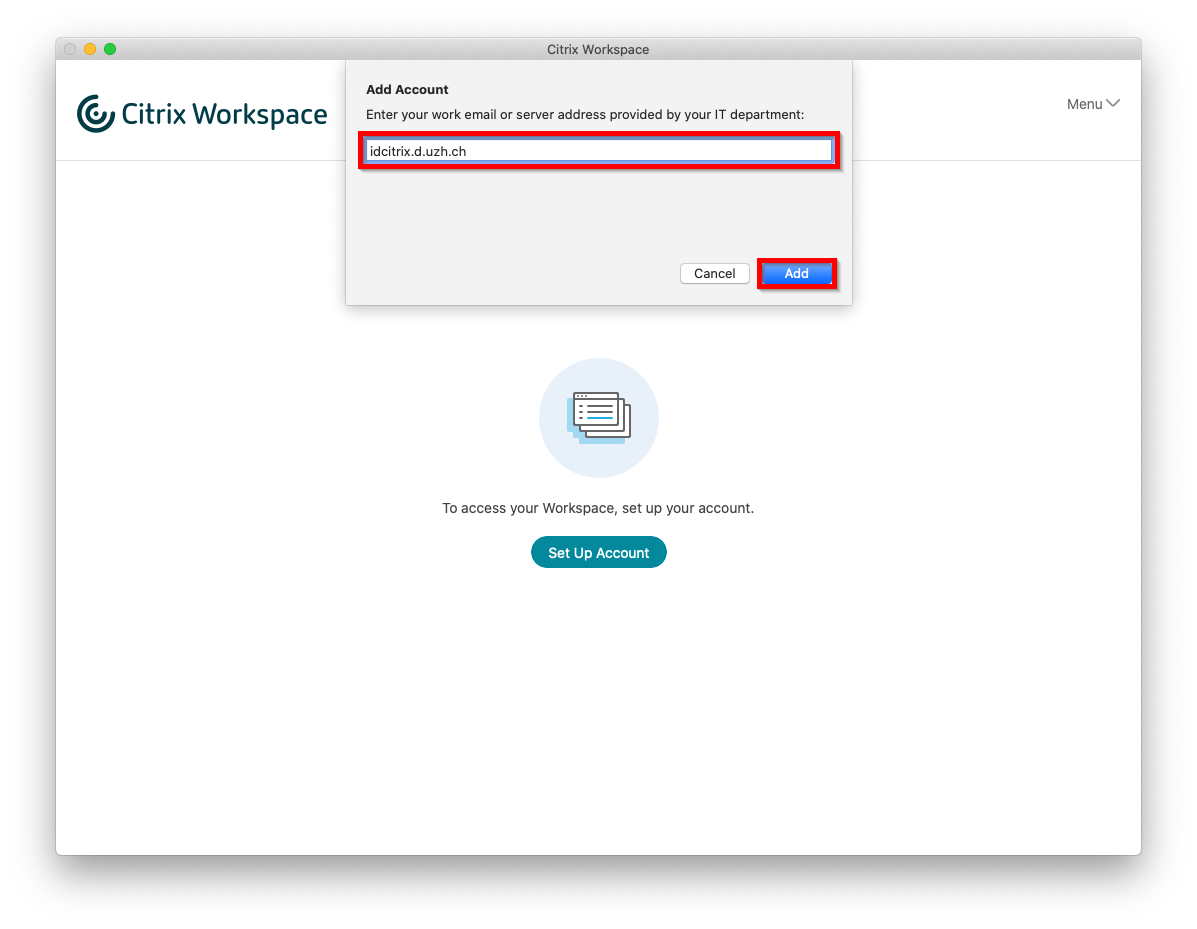
Note: If it does not work with the server address, try it with the internet address https://idcitrix.d.uzh.ch/Citrix/Production.
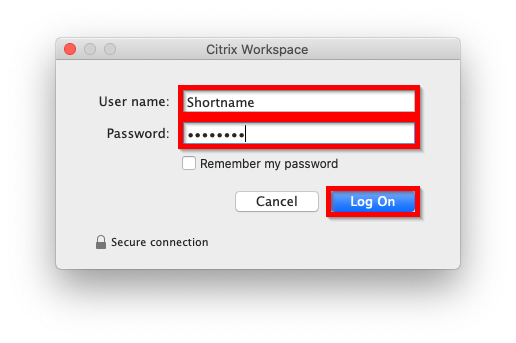
Use the appropriate Active Directory account (short name) to log in.
The installed and configured Citrix Workspace App will now start directly or can be started via the Start menu, whereby a new login may be necessary. Afterwards the Workspace window appears.
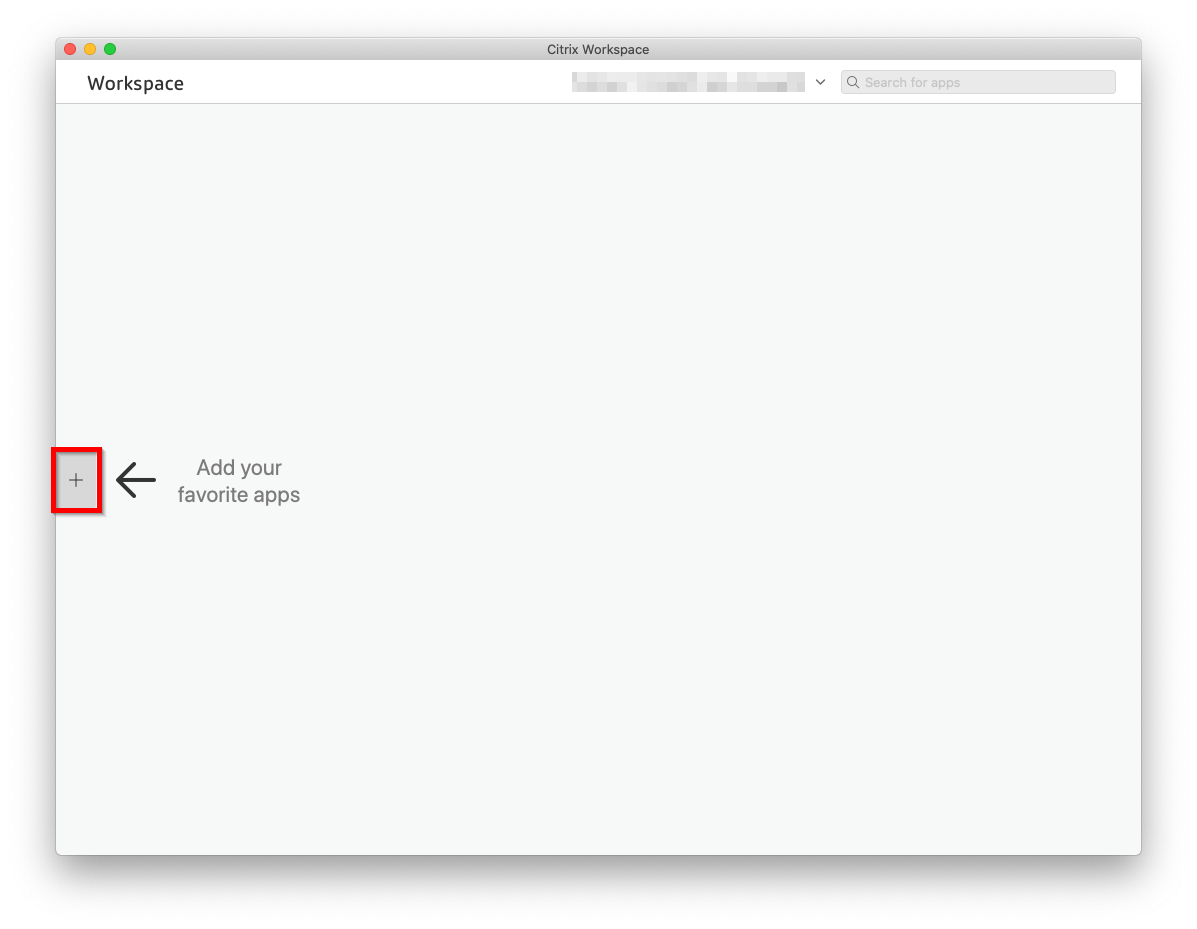
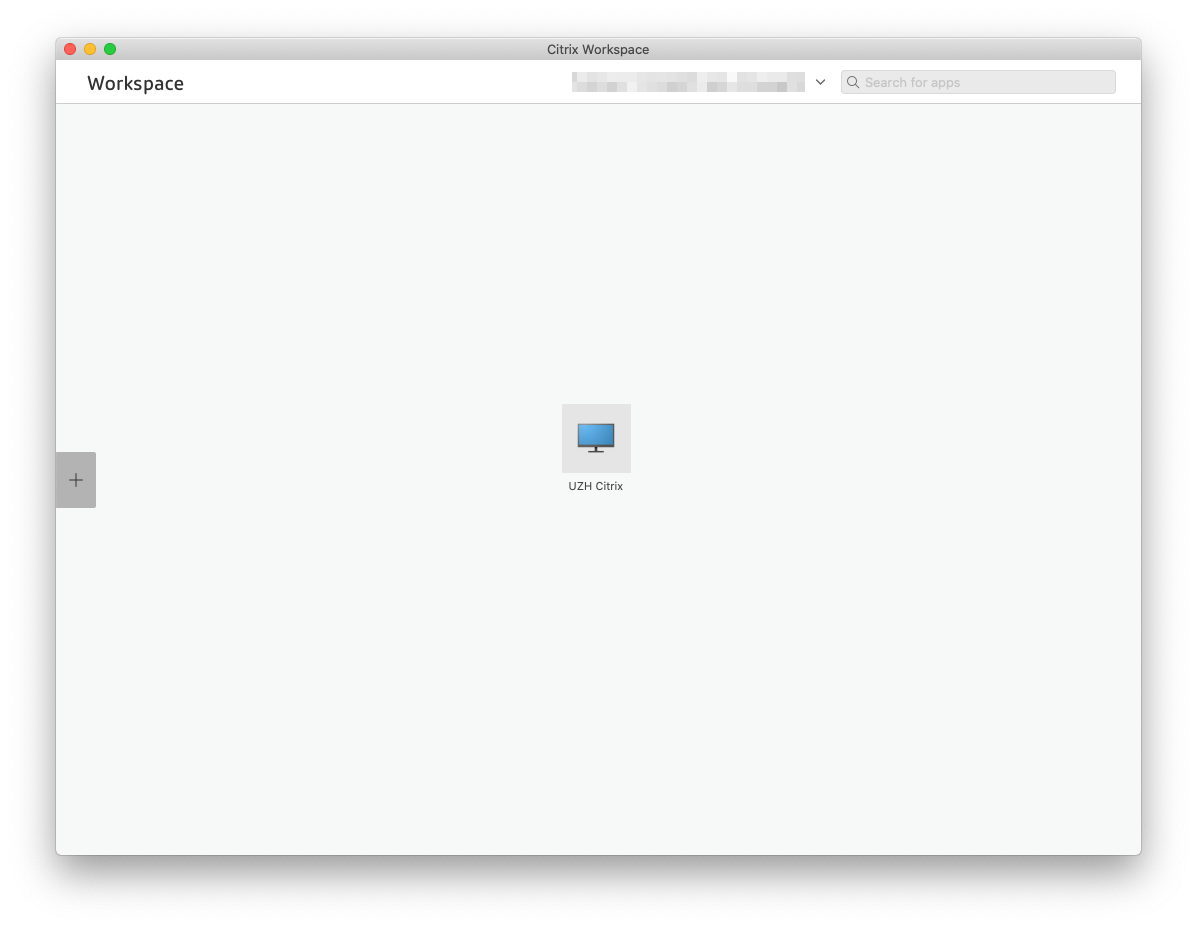
4. Adding Citrix desktops to the workspace
Clicking on the plus sign on the left opens the corresponding menu, which displays all Citrix desktops that the logged-in user is authorized to use.
These can be selected with one click, whereupon the corresponding icon appears on the workspace window.
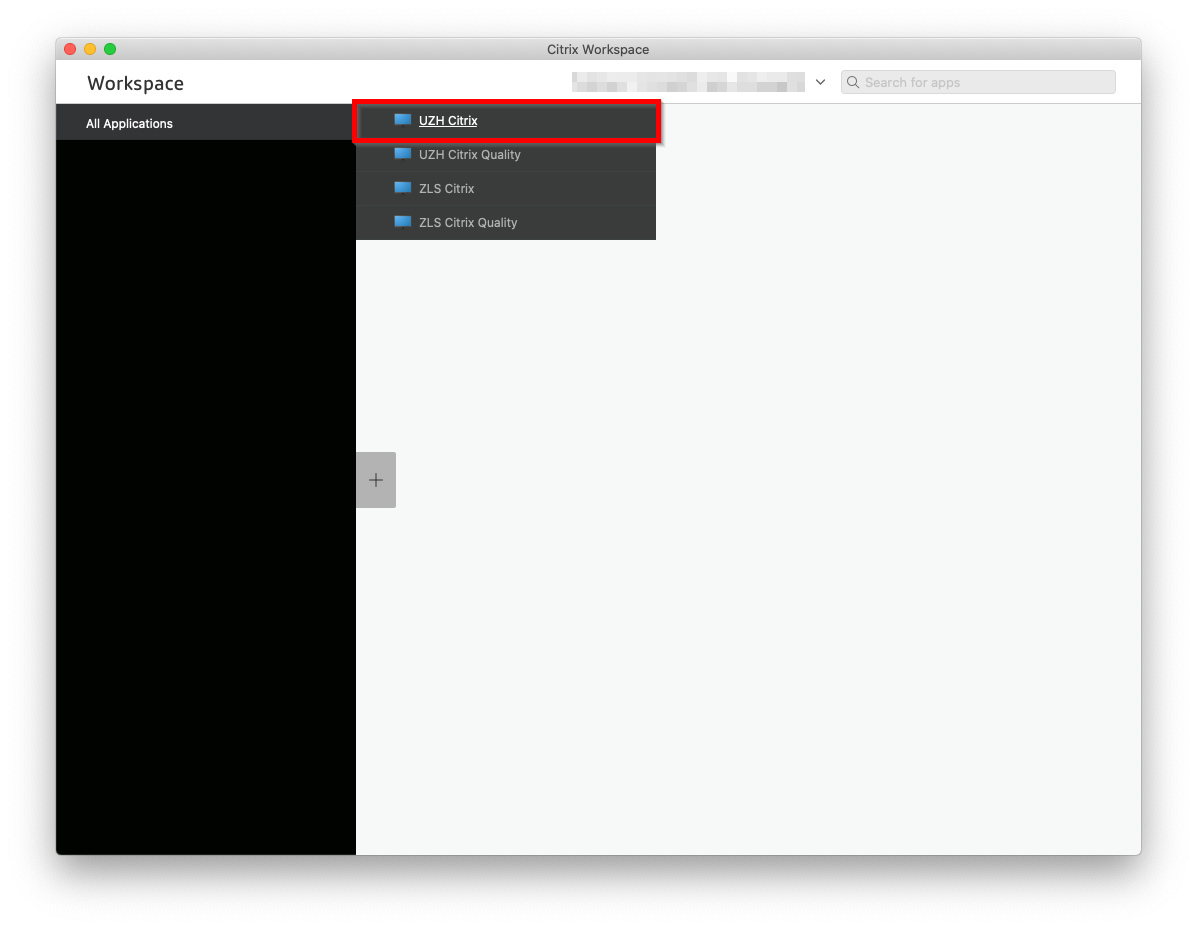
Citrix remembers the selected applications and will present them directly there in the future, regardless of which device you are logged on to.
Note:
- If the access configuration does not work, it sometimes helps to uninstall the Citrix Workspace App and afterwards:
- To delete all files and directories in the directories Library, Benutzer/Für alle Benutzer and Benutzer/<Benutzername>/Library, that can be associated with the Citrix Workspace App.
- To reinstall the Citrix Workspace App.
- Alternatively Citrix EQP can be accessed at https://idcitrix.d.uzh.ch/Citrix/ProductionWeb/ via a web browser. Please make sure that the Citrix Workspace Plug-In in the web browser is set to activate it.